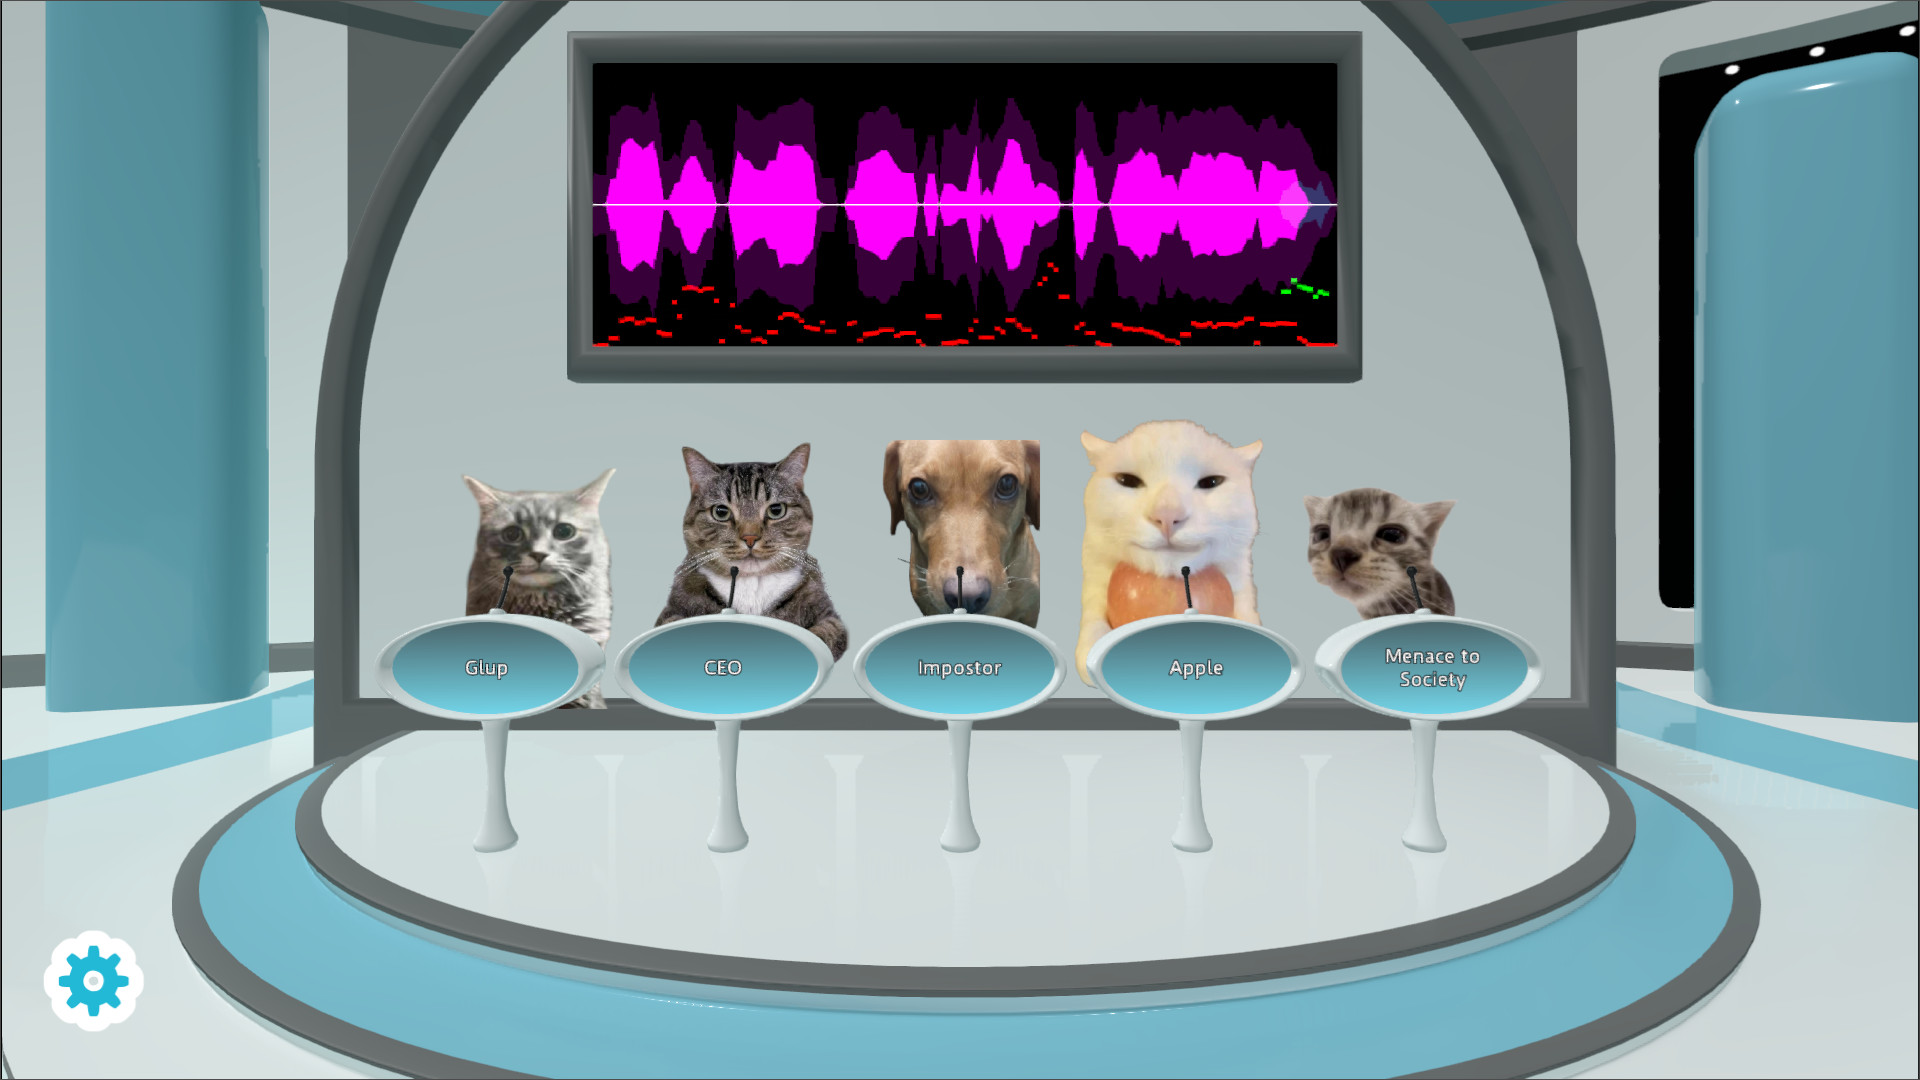
Choicer Voicer Voice Packs
Choicer Voicer voice packs are the audio-only content format the game launched with: judges, hosts, contestants and menus that fill out your personal game show. Here's how they work, where they go, and which ones are worth grabbing first.
Voice packs vs. dub packs
The Choicer Voicer has two content formats, and mixing them up is the number-one cause of "my pack doesn't show up" posts. Voice packs are audio only: collections of clips that define who's on your show — the judge who scores you, the host who introduces the round, the contestant voice lines, the menu announcer. Dub packs are the newer Dub Mode format (version 0.5+): a video scene plus per-line audio that you re-voice in real time. If you want video scenes to dub, you want our dub packs page instead.
The two formats install to different folders. Voice packs go in packs_voice,
next to the game executable; dub packs go in the dub folder. Put a voice pack in
the dub folder (or vice versa) and the game will silently ignore it. When in doubt, open the
ZIP: audio files only means it's a voice pack; an .ogv video means it's a dub
pack.
The four kinds of voice packs
A game show is a cast, and The Choicer Voicer lets you recast every role with community packs:
- Judges — the voices that react to and score your performance. Swapping the judge panel changes the entire feel of a round, from deadpan critics to unhinged YouTube Poop characters.
- Hosts — the MC who introduces rounds and keeps the show moving. A good host pack makes a $5 indie game feel like a broadcast taping.
- Players / contestants — voice sets for the contestants themselves, great for local multiplayer nights where everyone picks a persona.
- Menus & sounds — announcer and interface voice-overs that reskin the whole presentation, plus standalone sound packs on GameBanana.
How to install voice packs
The developer's pitch is that making a voice pack is "as easy as dropping audio files into a
folder" — installing one is the same thing in reverse. Download the ZIP from the pack's
GameBanana page, extract it, move the resulting folder into packs_voice, and
restart the game. Watch out for double-nested folders (a folder inside a folder), which is
the most common install mistake. The full walkthrough, including troubleshooting for packs
that don't appear, is in our installation guide.
15 indexed · SFW shown
Judges
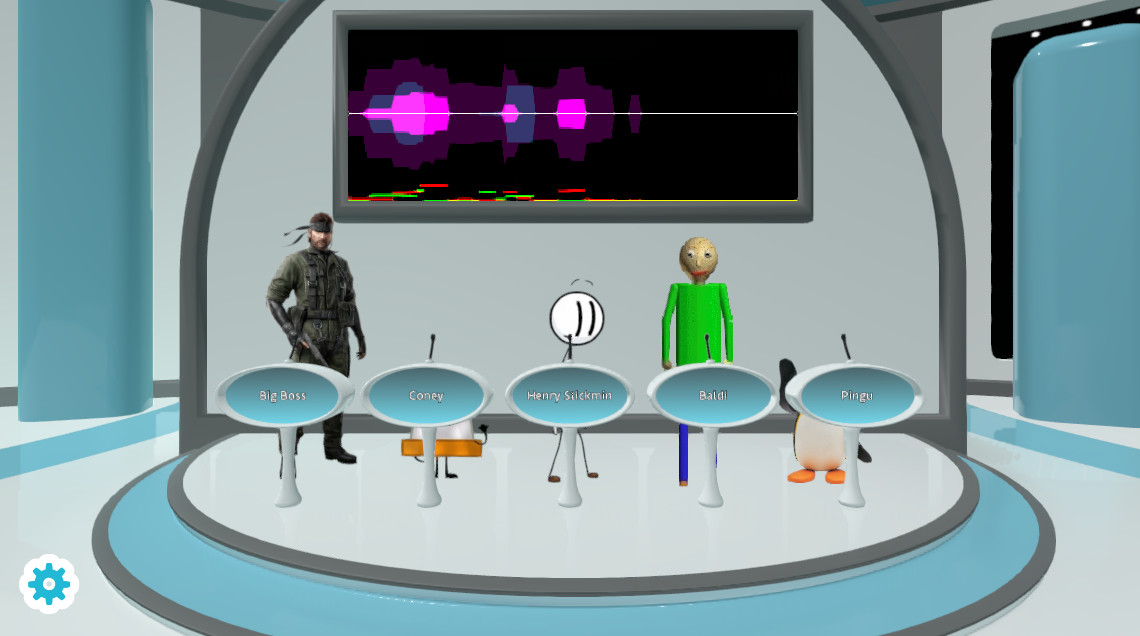
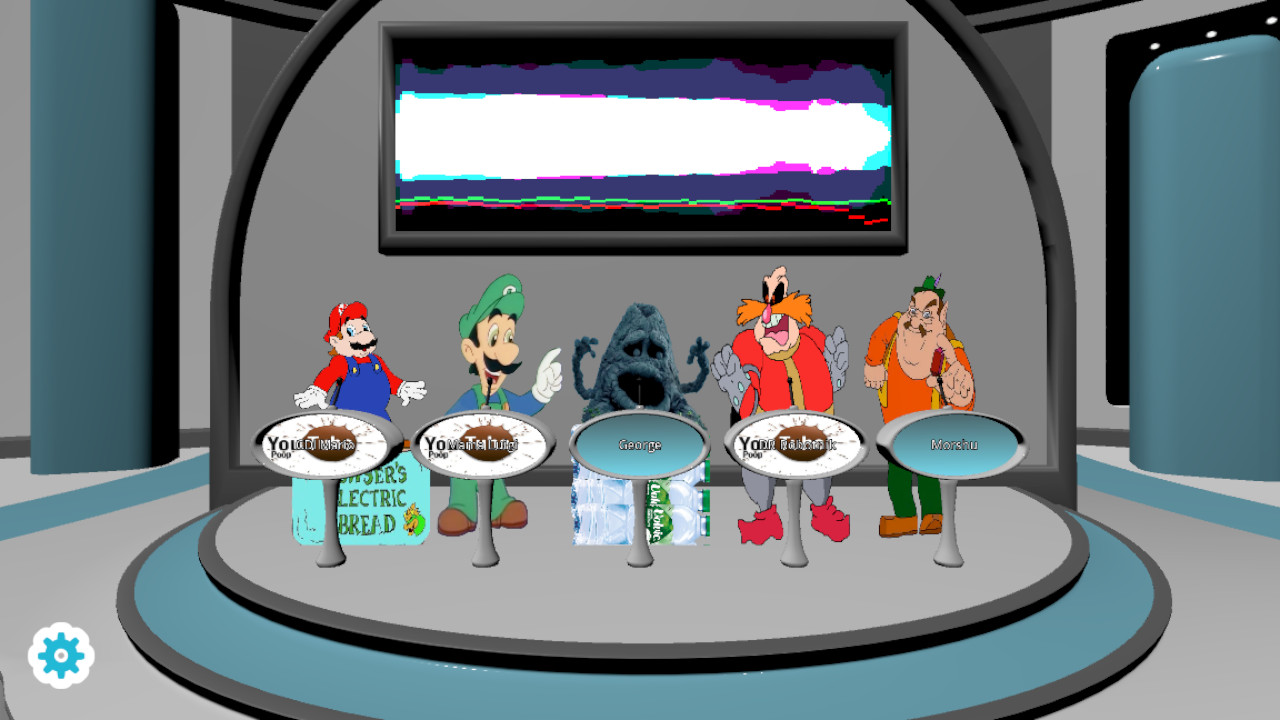
15 indexed · SFW shown
Hosts
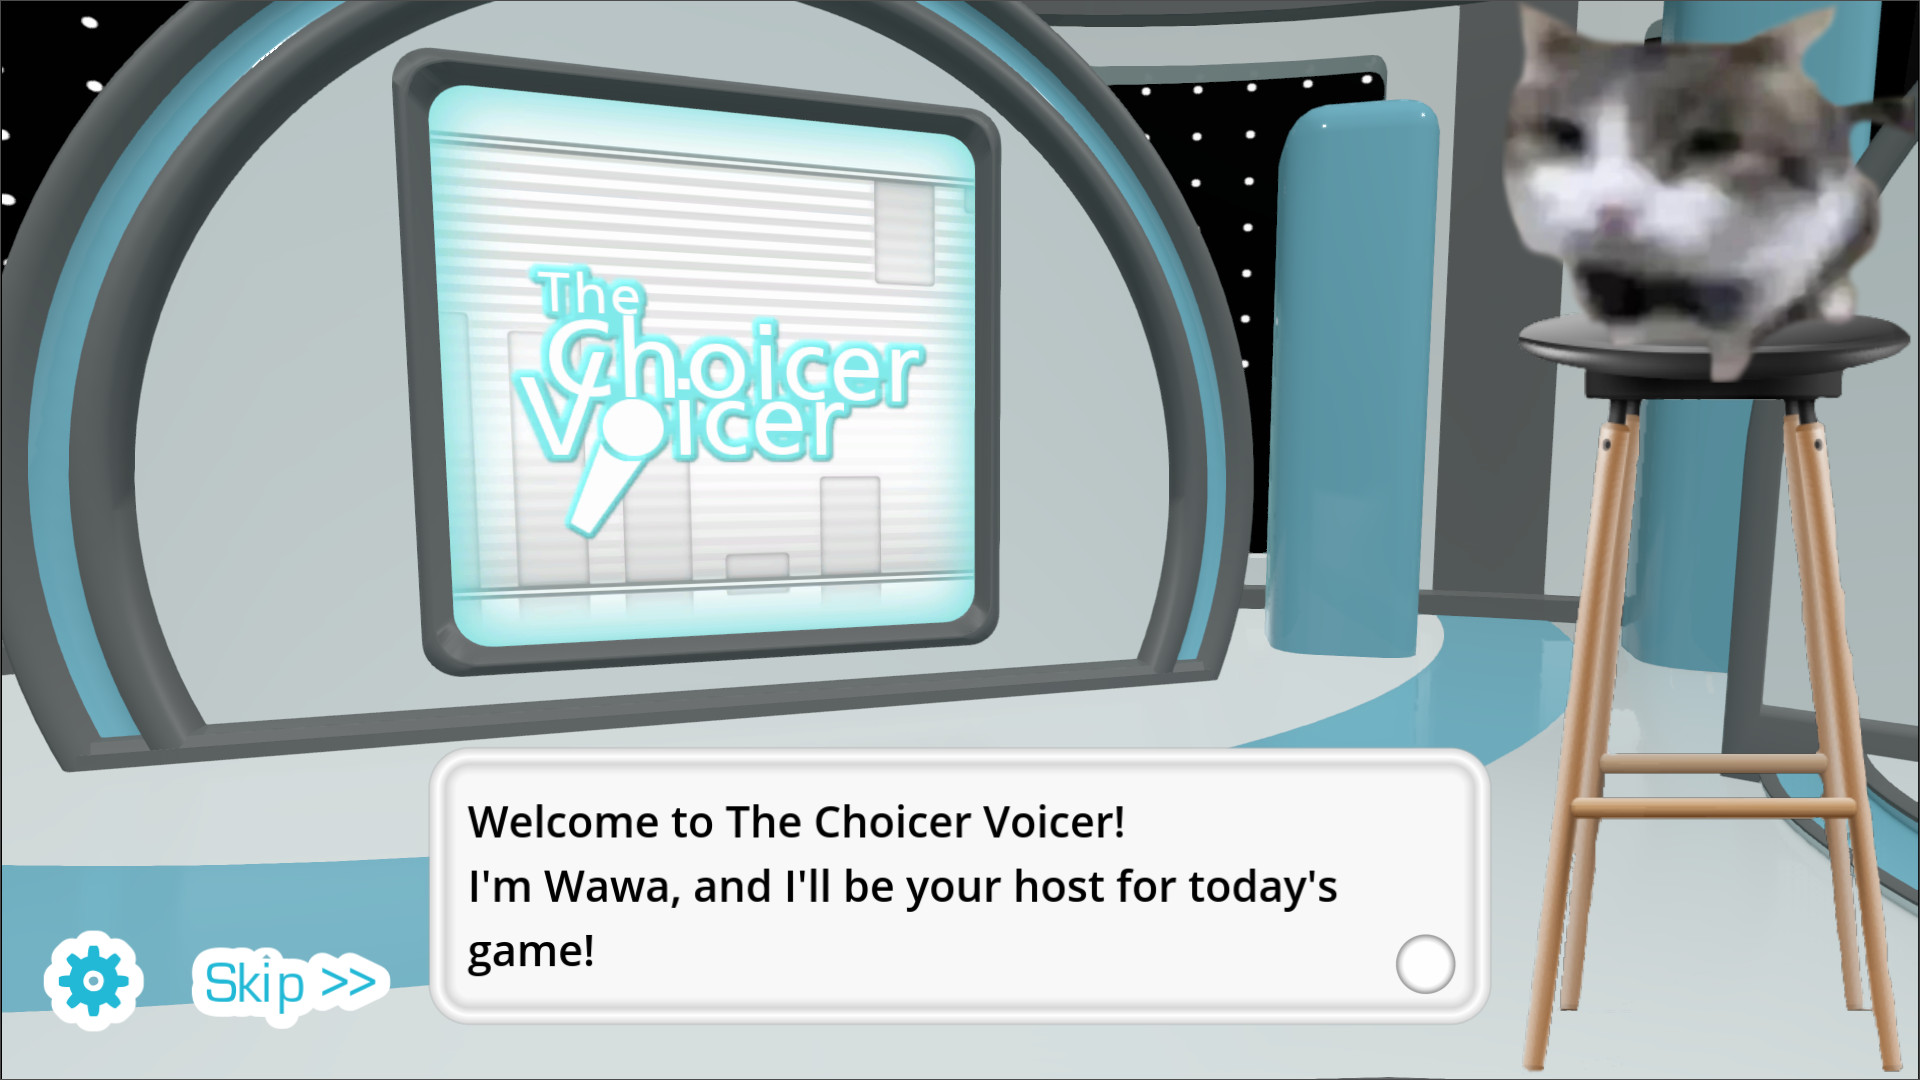
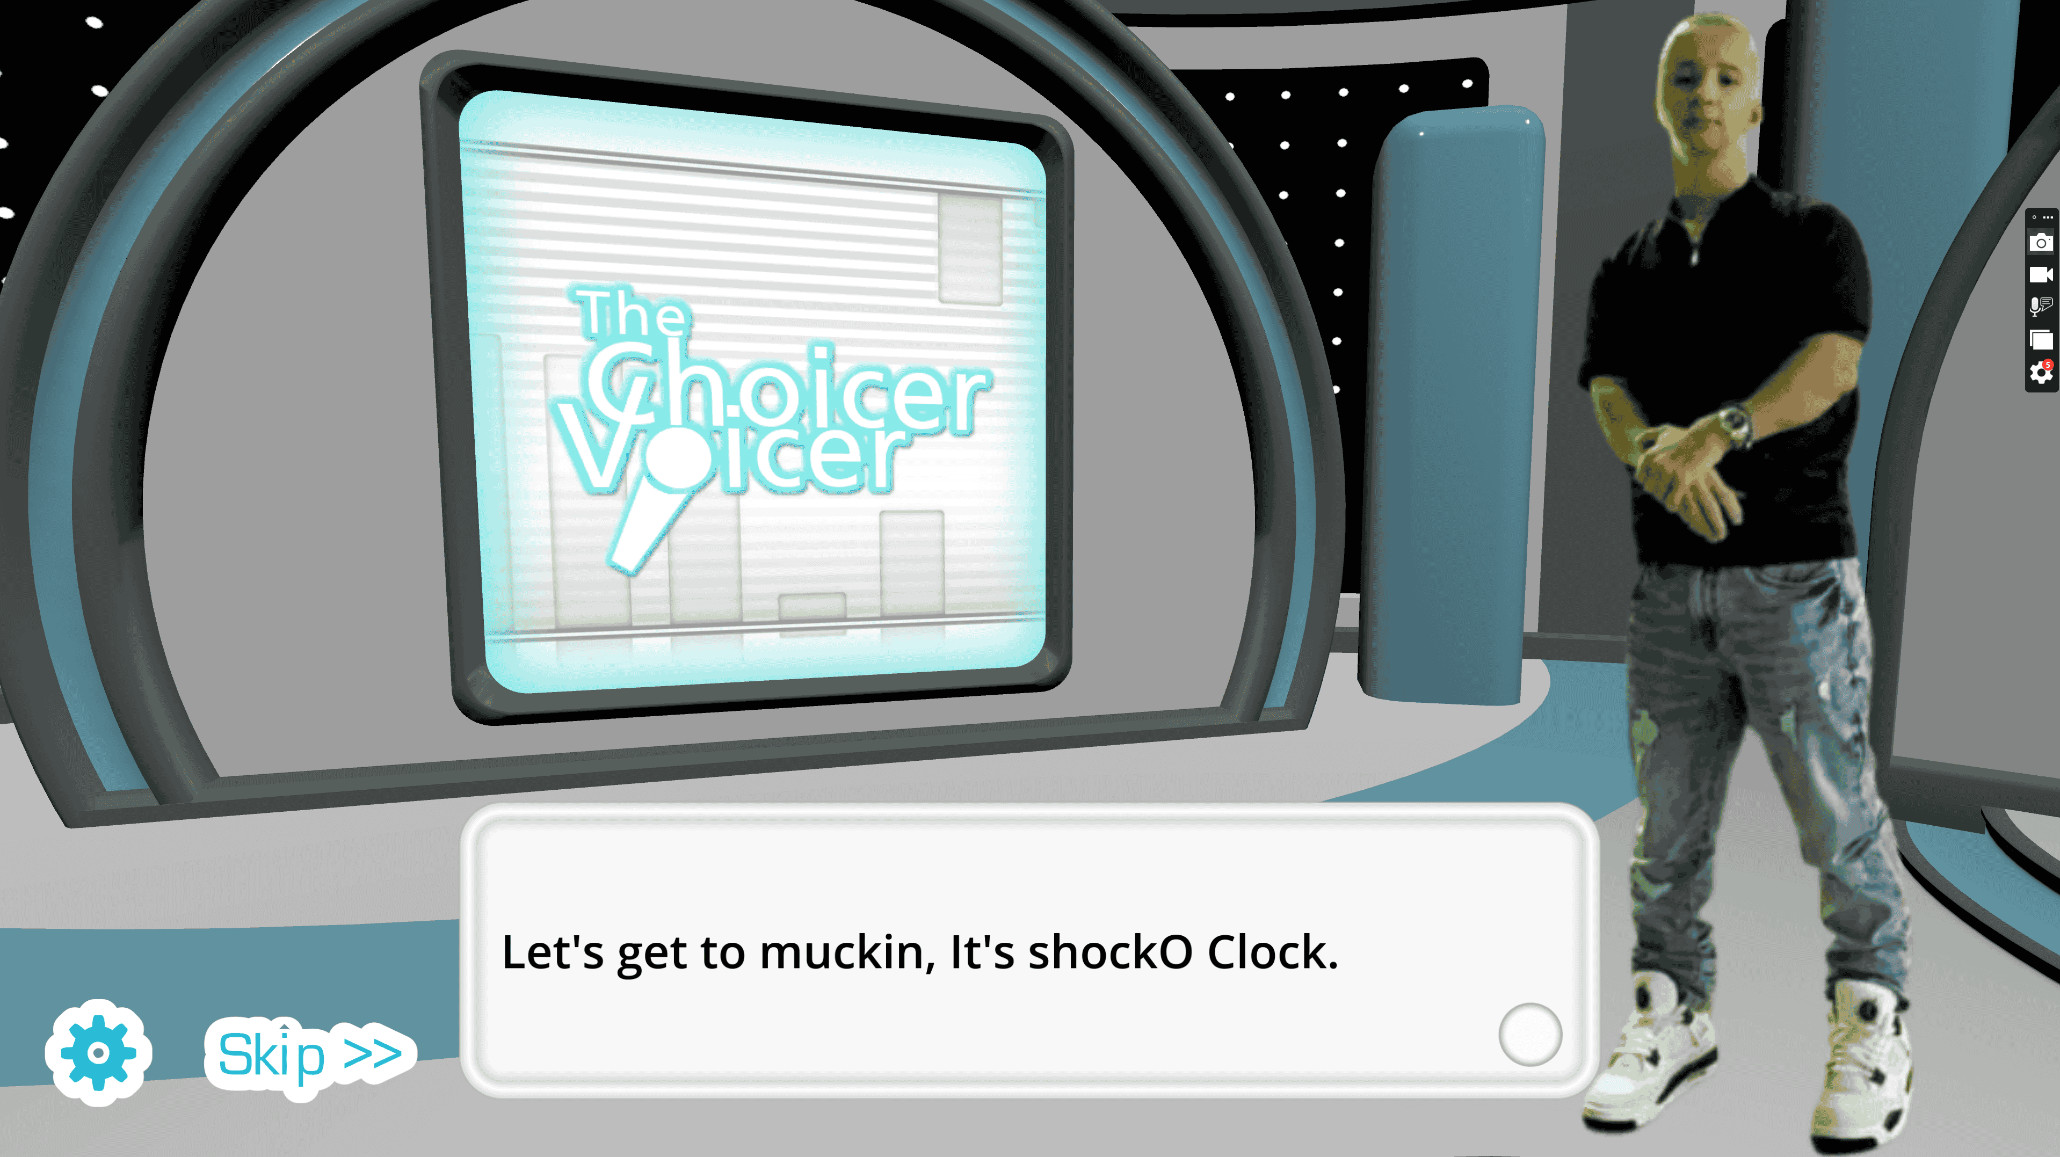
20 indexed · SFW shown
Players
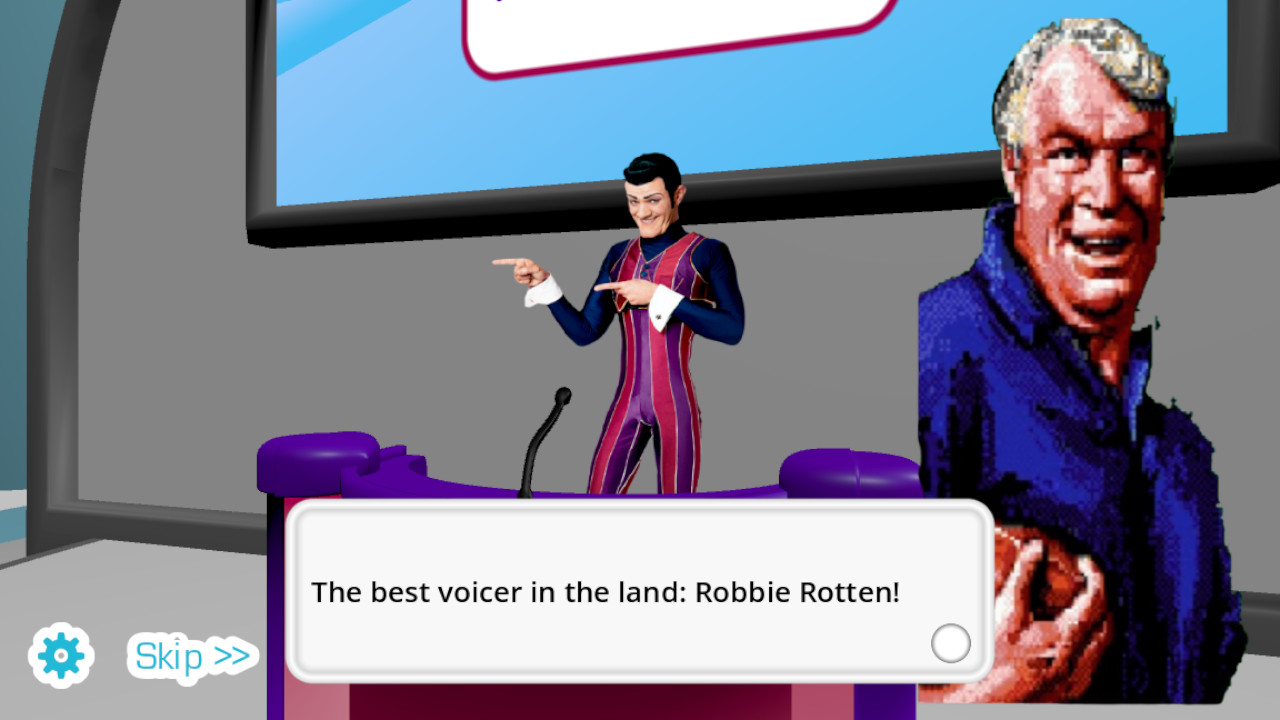
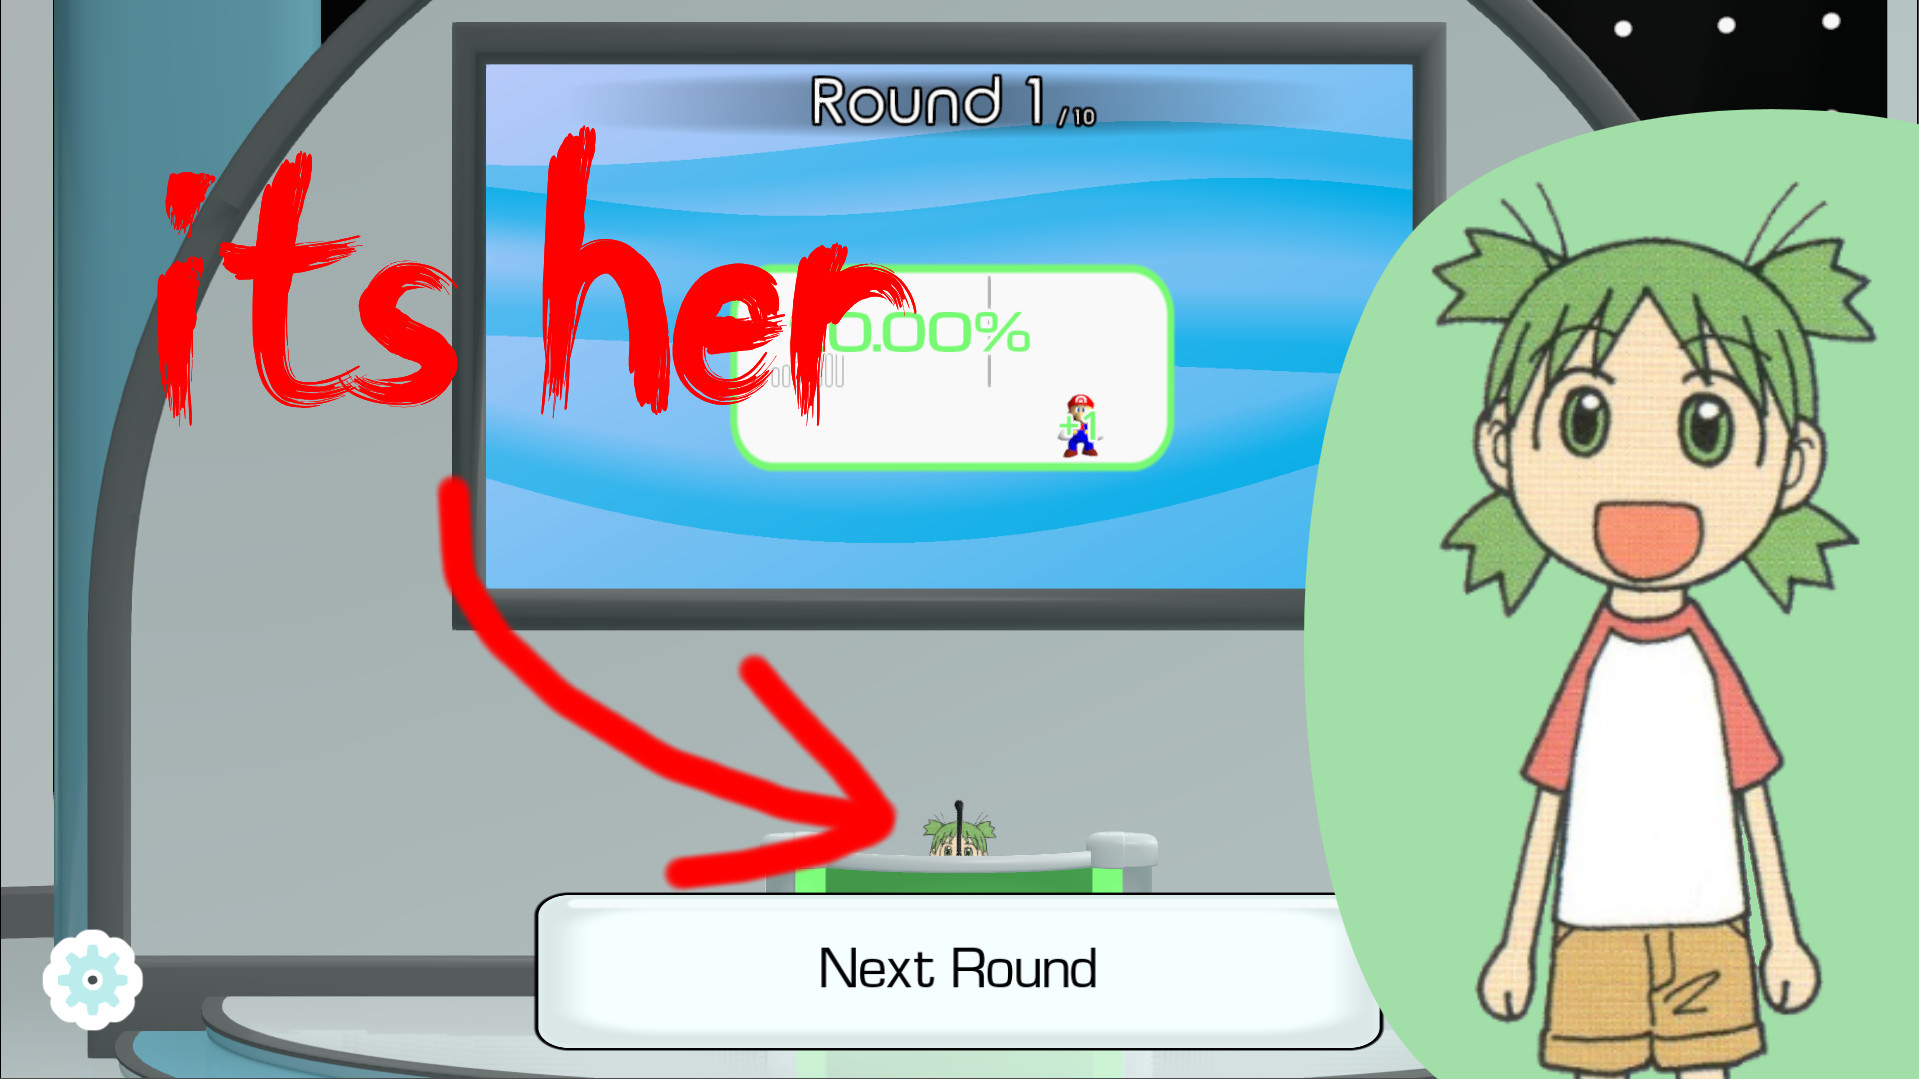
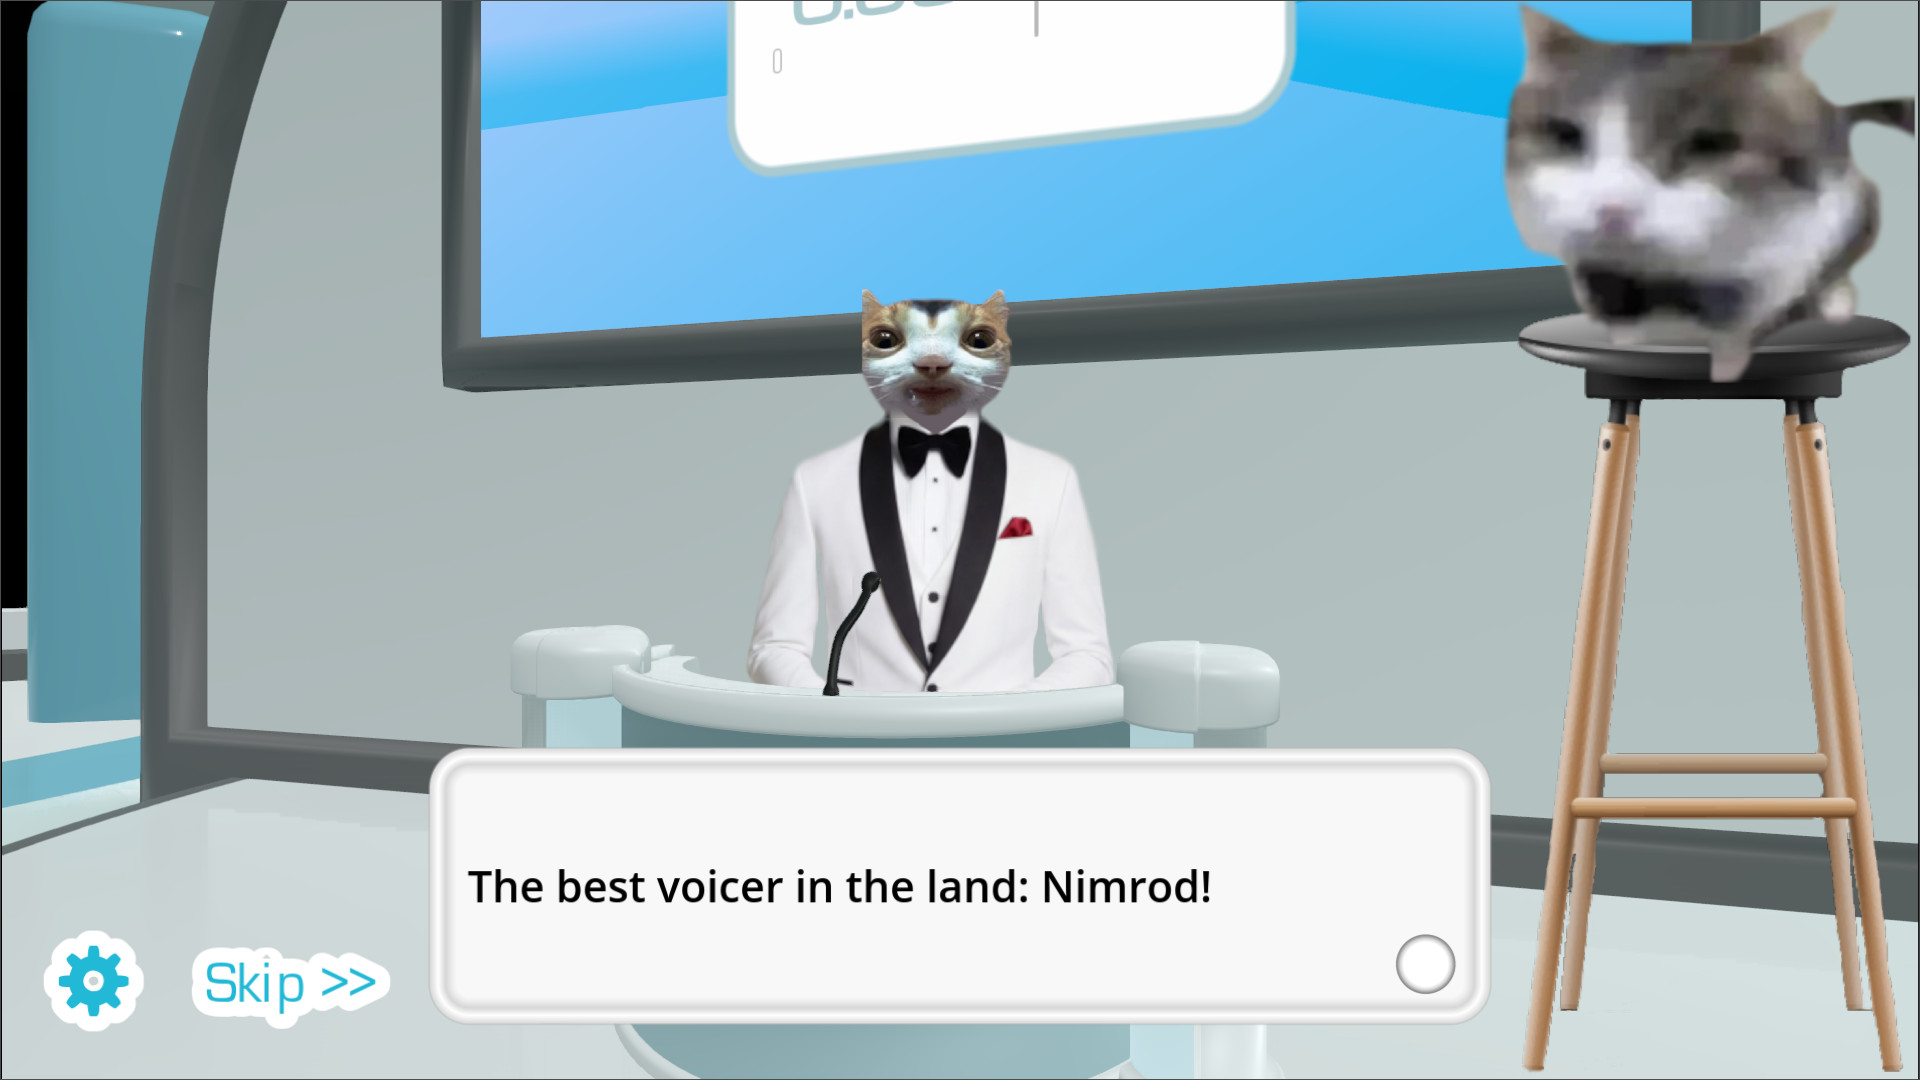
17 indexed · SFW shown
Menus
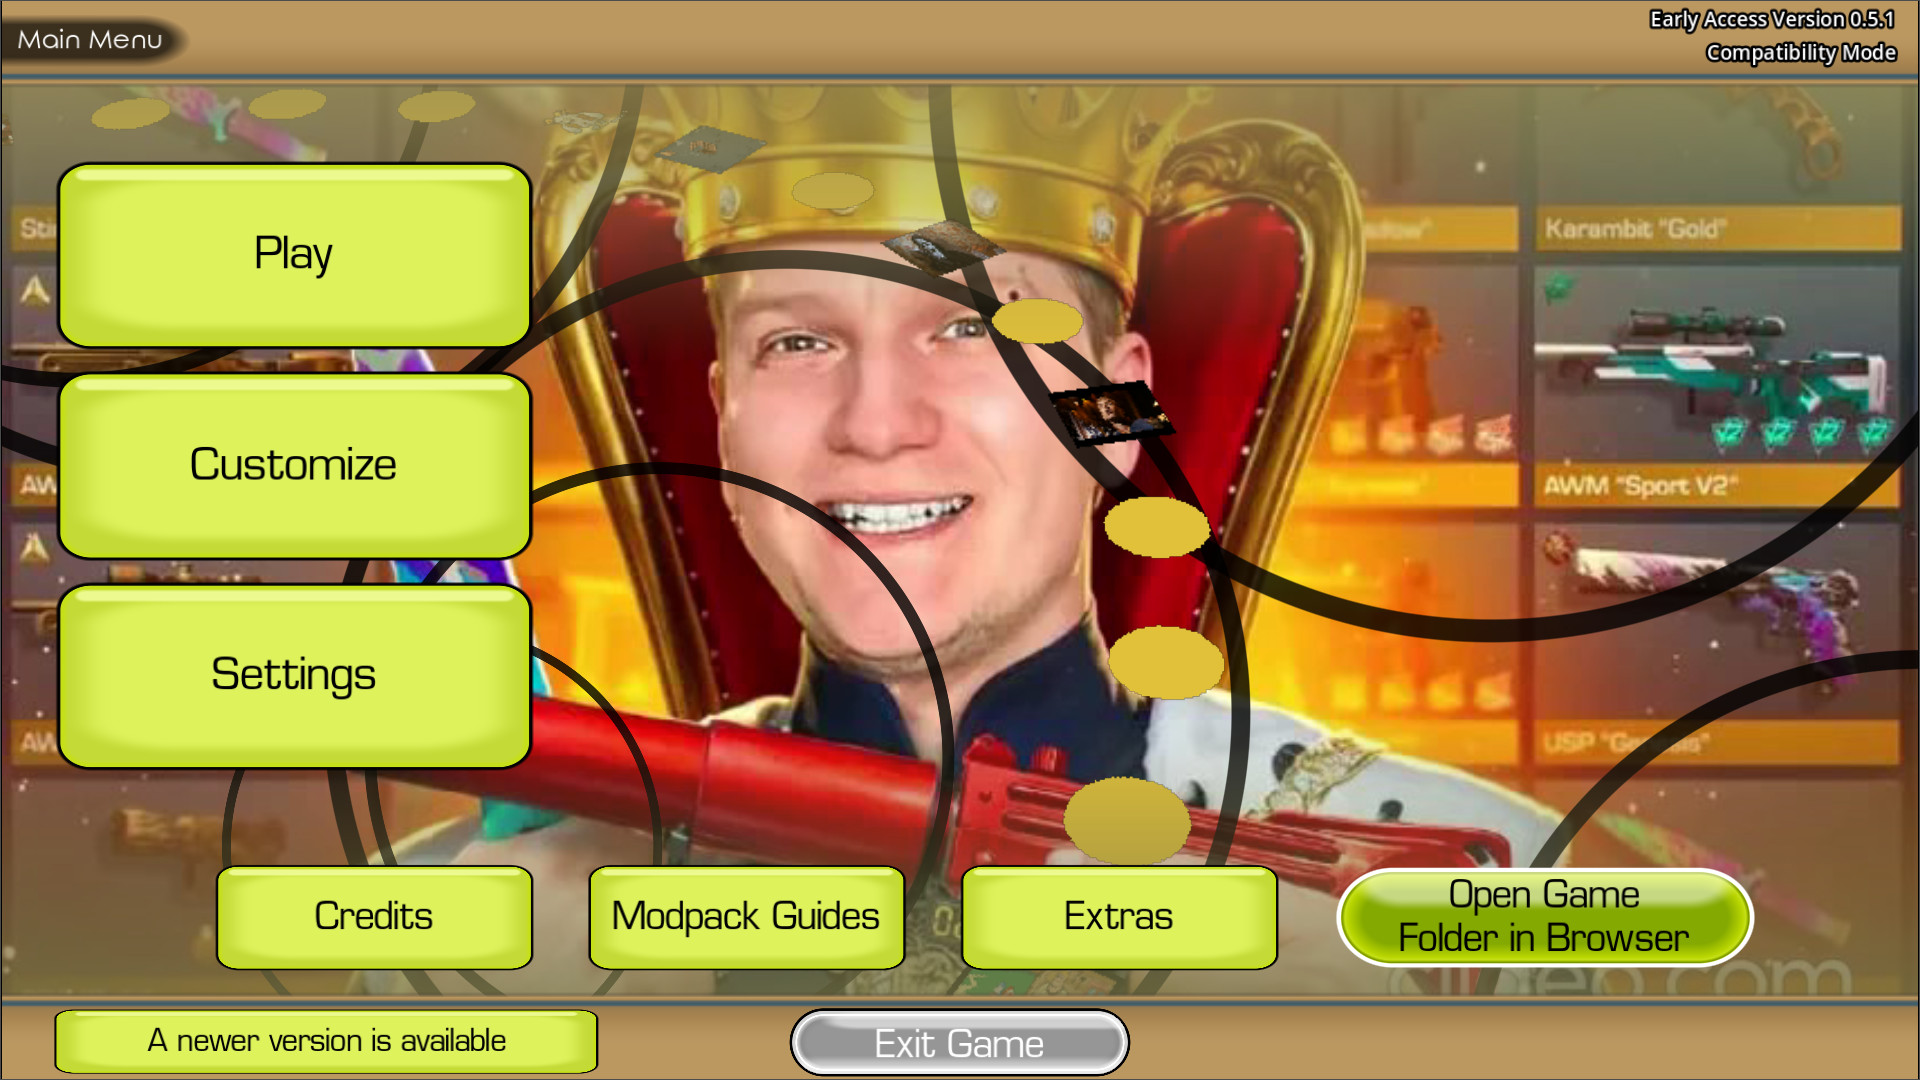
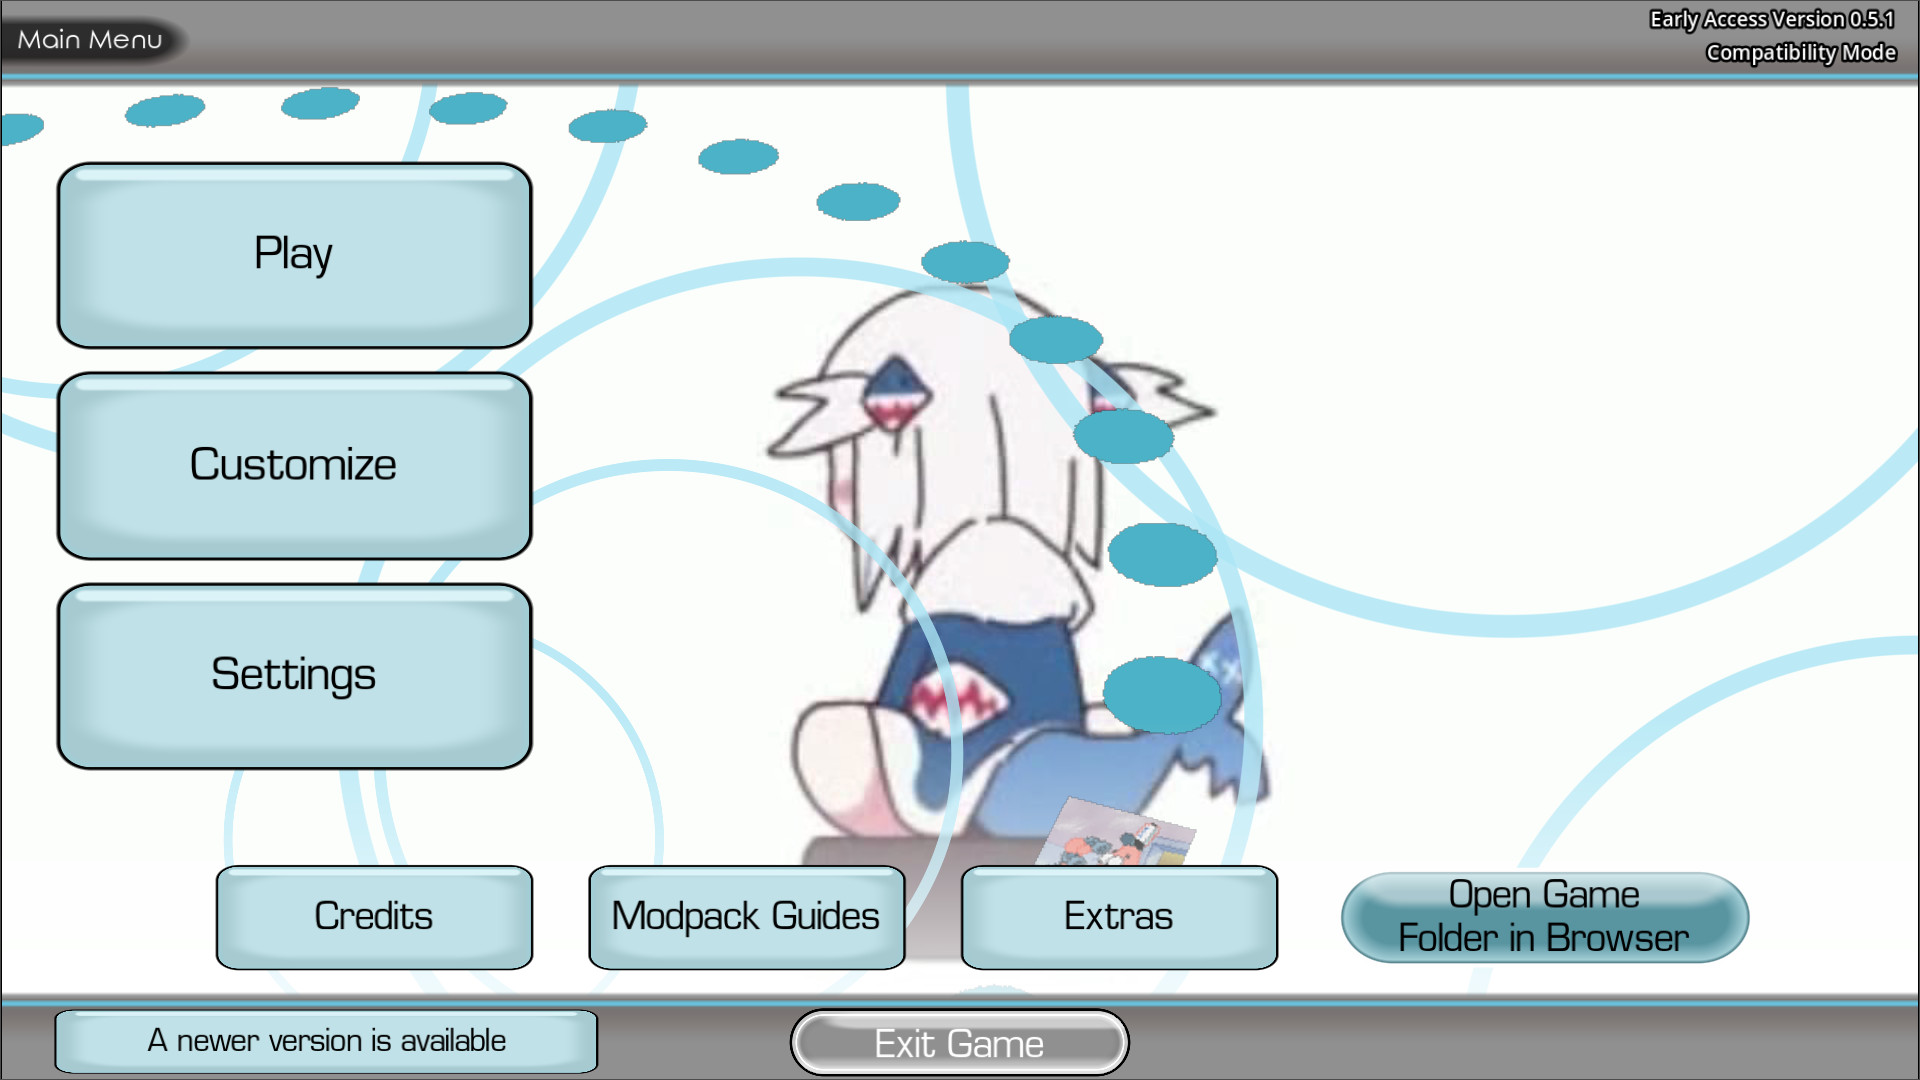
![Screenshot of Воронины интро меню(The Voronins menu) [RUS]](https://images.gamebanana.com/img/ss/mods/6a7fe2793d6f3.jpg)
Compilation packs
Don't sleep on the Compilation Packs category either — 62
bundles that pack dozens of scenes or voices into a single download. They're the fastest way
to fill a fresh install before a party night, and several of the site's most-downloaded
entries are compilations like the Metal Gear Solid megapacks. One caveat: a compilation
still installs like any other pack — folder into packs_voice or the dub folder,
restart, done — but check inside the ZIP first, because some compilations nest separate
folders per pack and you'll want each of those moved individually. Find them under
"Compilation Packs" in the directory filters.
What to download first
If you're stocking a fresh install, the highest-impact order is: one judge pack (they speak the most lines in every round, so a good panel transforms the game), one host you find genuinely funny, and then a menu pack only if the default announcer starts to grate. Player packs matter most for local multiplayer nights — giving each contestant a distinct voice persona turns score-chasing into improv comedy, while a themed menu announcer ties a whole custom show together. And remember that voice packs are the original format: they work on every game version, including pre-0.5 builds that can't load dub packs at all.
Making your own voice pack
Because a voice pack is literally a folder of audio clips, the barrier to making one is as low as it gets: record or cut your clips, name them clearly, drop them in a folder, test in-game, then zip it and upload to GameBanana so this index picks it up automatically. If you want to go further and build a Dub Mode scene with video and timing metadata, follow the dub pack creation guide — the audio prep steps are identical.
One last thing before your first recording session: test your microphone. The Choicer Voicer has a known recording bug on some systems, so run the free browser mic test first — and if the game still can't hear you, the microphone fix guide has the step-by-step workaround.